SentinelOne
- 27 May 2025
- 2 Minutes to read
- Contributors

- Print
- DarkLight
SentinelOne
- Updated on 27 May 2025
- 2 Minutes to read
- Contributors
- Print
- DarkLight
Article summary
Did you find this summary helpful?
Thank you for your feedback!
You need admin privileges to configure integrations.
CodeHunter and SentinelOne have partnered to provide native integration between the two applications.
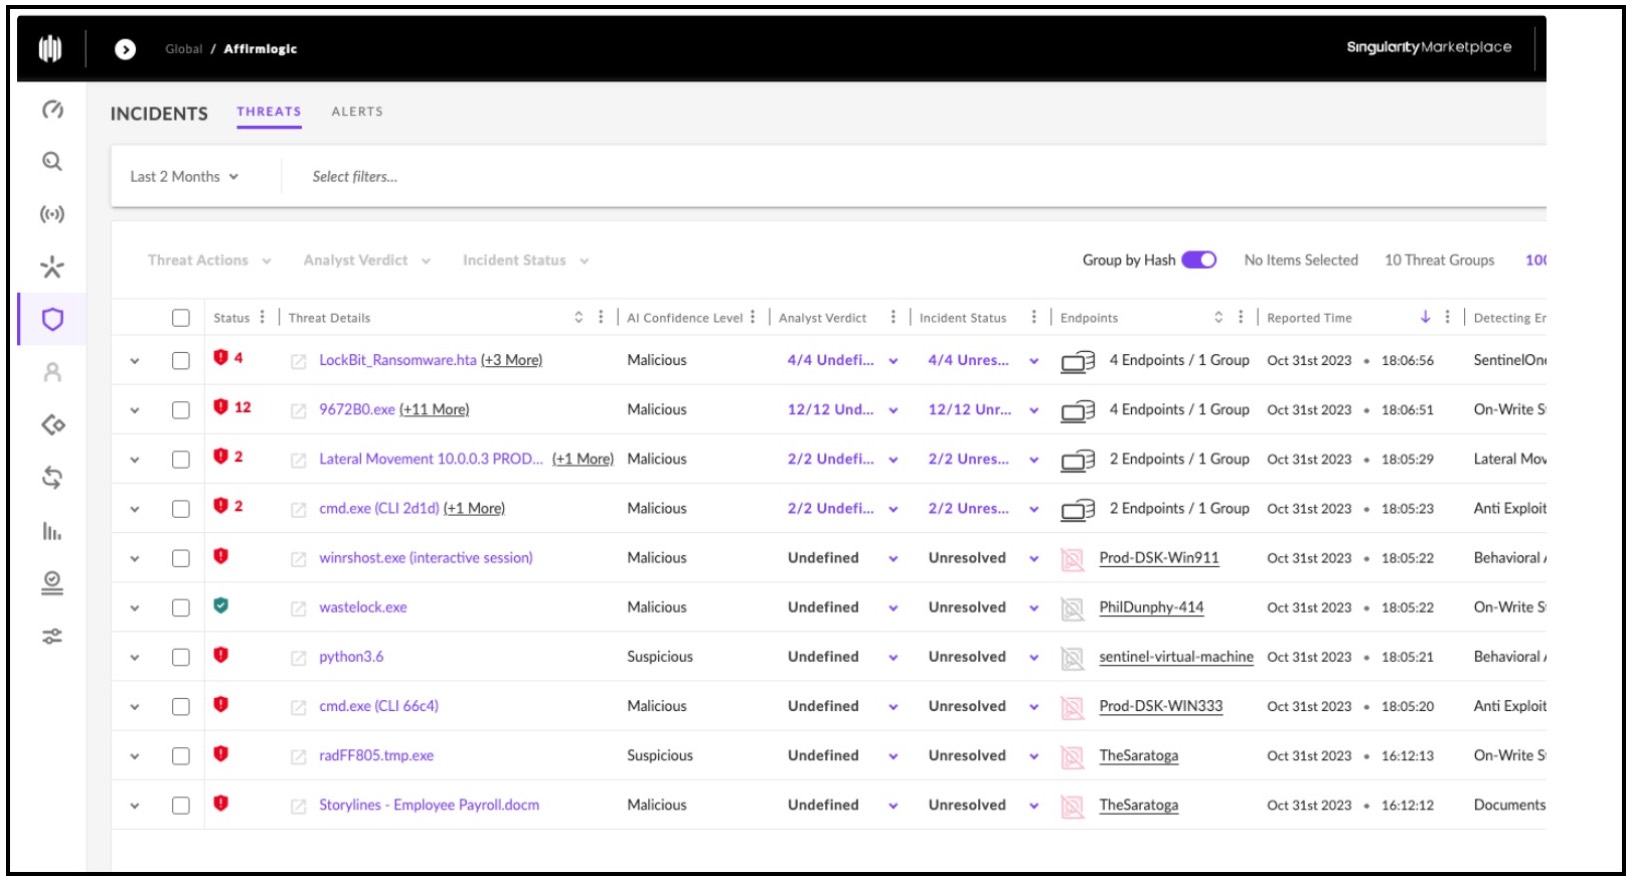
You can automate the sending and receiving of security telemetry through this integration. The benefit is that when an incident is “Malicious” or “Suspicious” in the AI confidence status, the integration will automate the sending of those incidents to CodeHunter for further analysis.
When the file analysis results are ready, they will be appended to the Notes field of the incident and the SentinelOne console will display a notification for this.
To start the configuration process with SentinelOne, follow the steps below.
Retrieve Your SentinelOne Base URL
You will need to retrieve your SentinelOne Base URL is in order to successfully configure this integration.
a. Log in to your SentinelOne account. Once logged in, look for a Settings or Account section in the console.
b. Within the Settings or Account section, search for a category related to API or integrations. This is where you may find information about accessing SentinelOne services programmatically.
c. Look for the base URL or API endpoint information. This might be labeled as API URL, Integration URL, or something similar.
The base URL is the starting point for constructing API requests. It usually includes the protocol (https://) and the domain or IP address.
d. Once you've located the base URL, copy it to your clipboard.
The base URL could be formatted like this: https://<host>.sentinelone.net
Generate API Token
Next, you will need to generate the API token. This token will be used to set up the integration with CodeHunter.
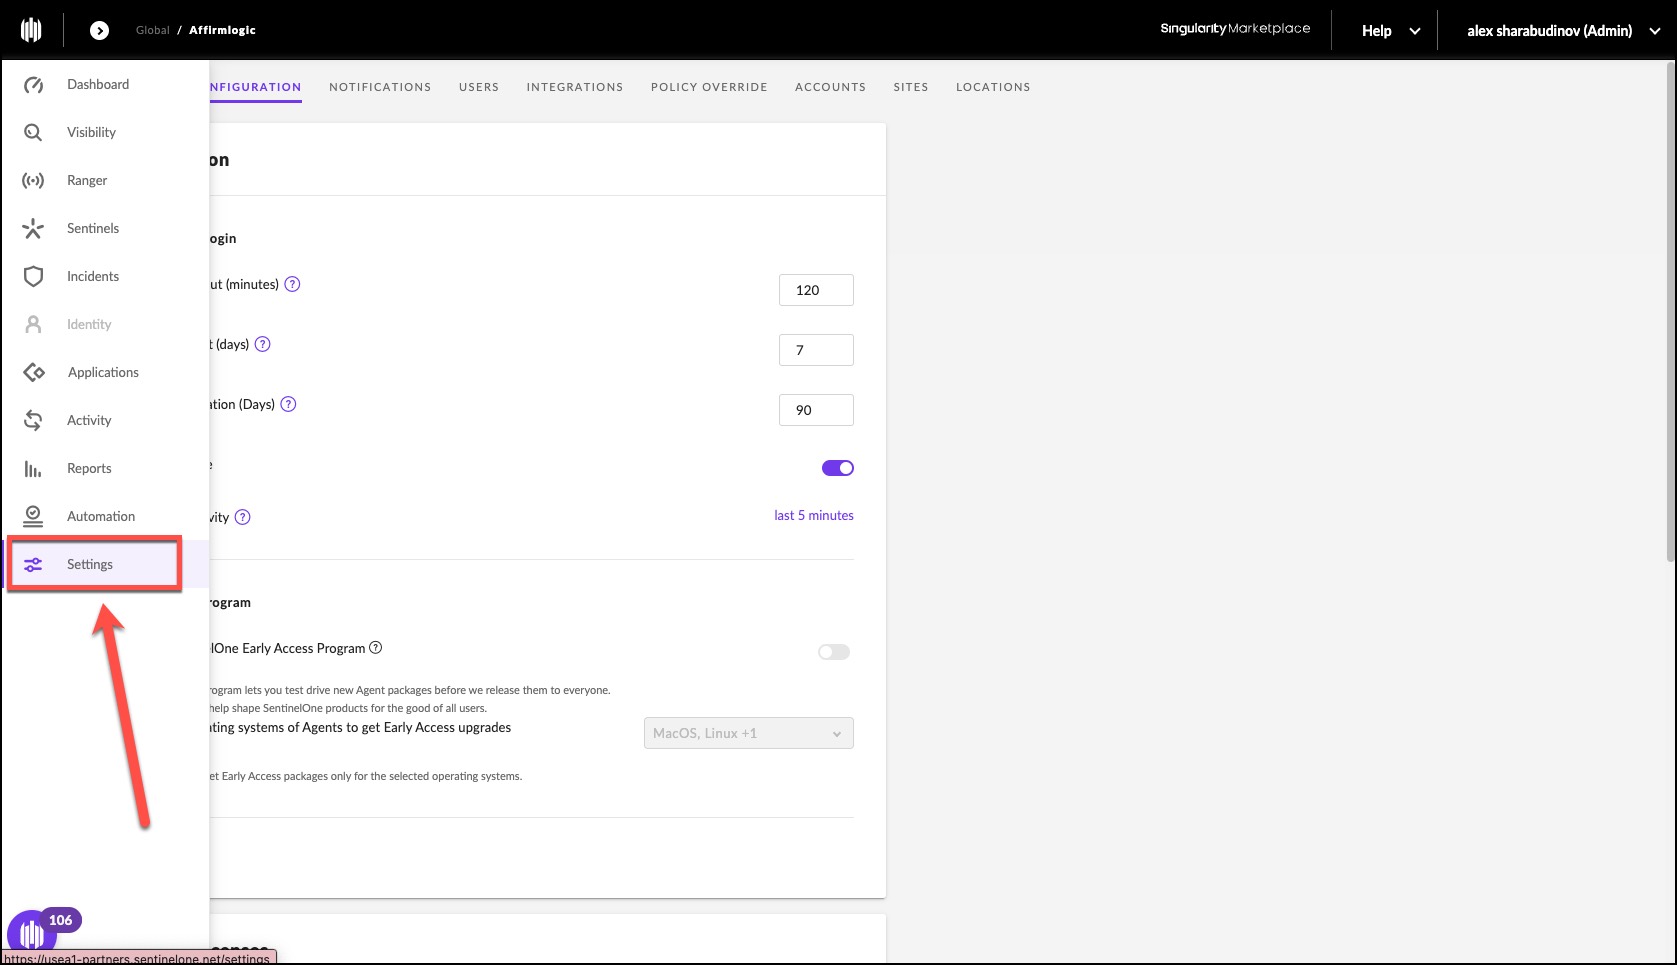
1. Log in to your SentinelOne management console and navigate to Settings.
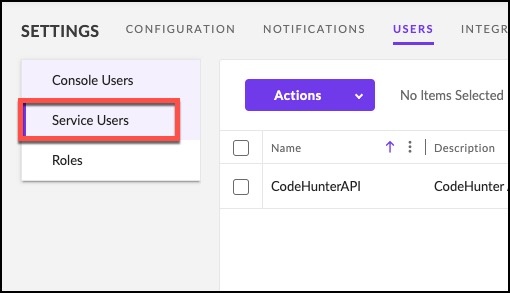
2. Click Users.

3. Click Service Users in the left panel.
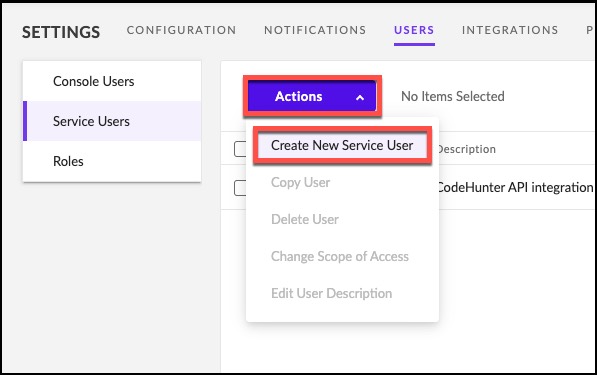
4. Click Actions, then Create New Service User from the drop-down menu.
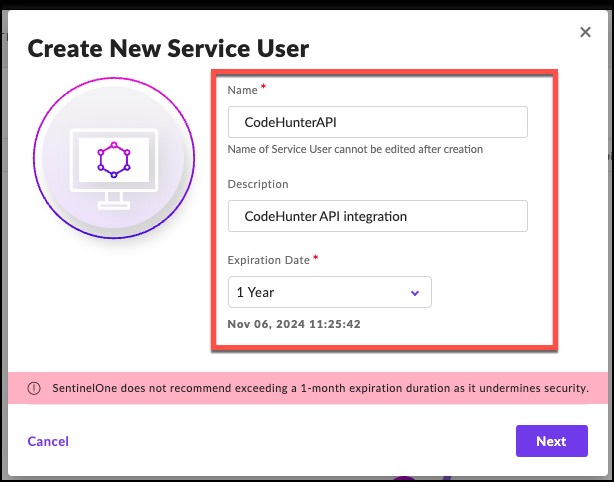
5. Type CodeHunterAPI in the Name field of the Create New Service User dialog box. Also, provide a Description such as CodeHunterAPI Integration.
Click Next when you are done.
6. Select Account as the access level, then select the parent site, Affirmlogic.
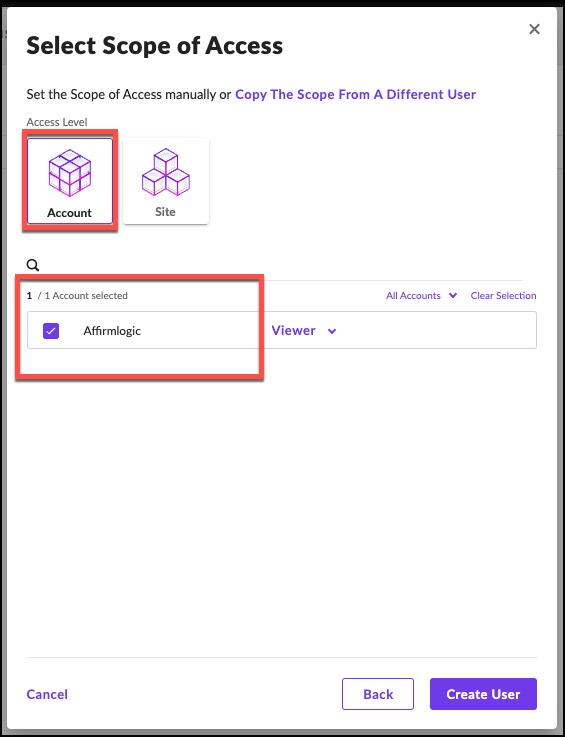
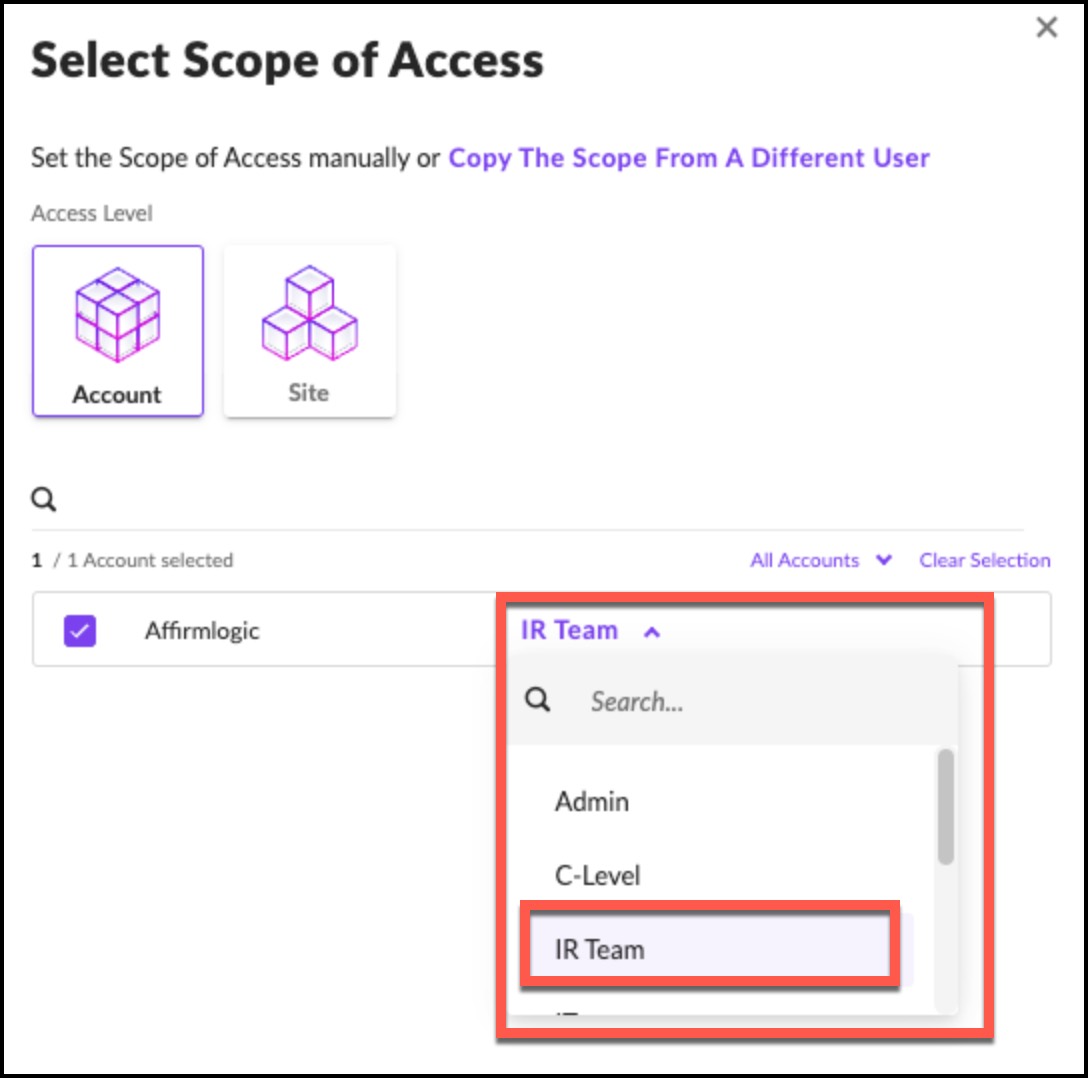
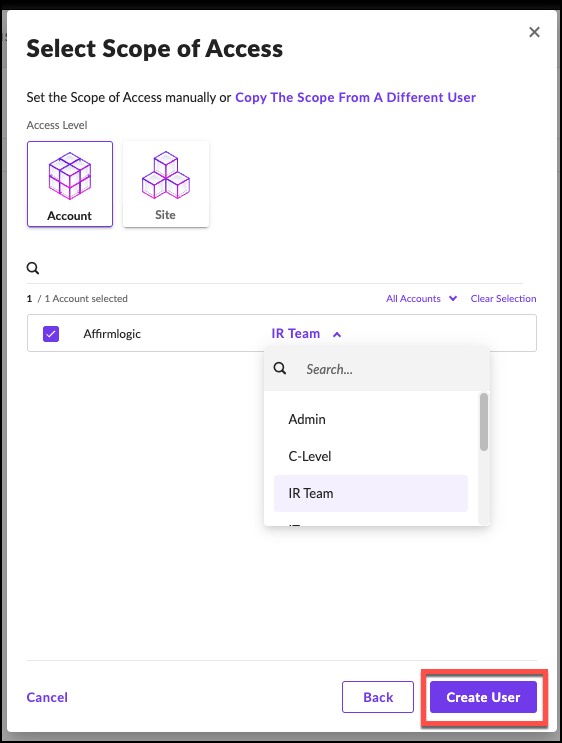
7. Set the role to IR Team from the drop-down menu.
8. Click Create User.
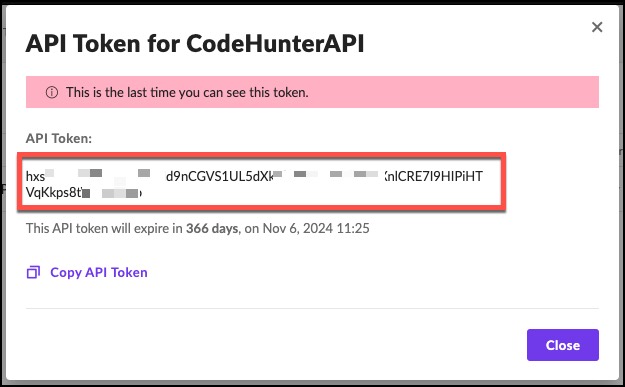
9. Save and copy the API Token information.
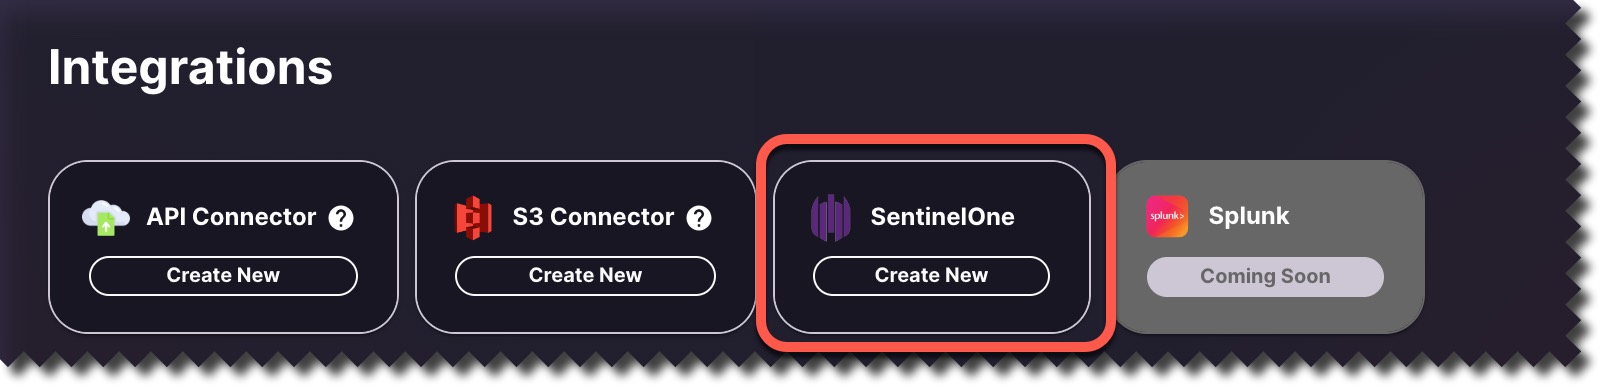
10. Next, log in to CodeHunter and navigate to Integrations.
11. Click Create New in the SentinelOne tile.
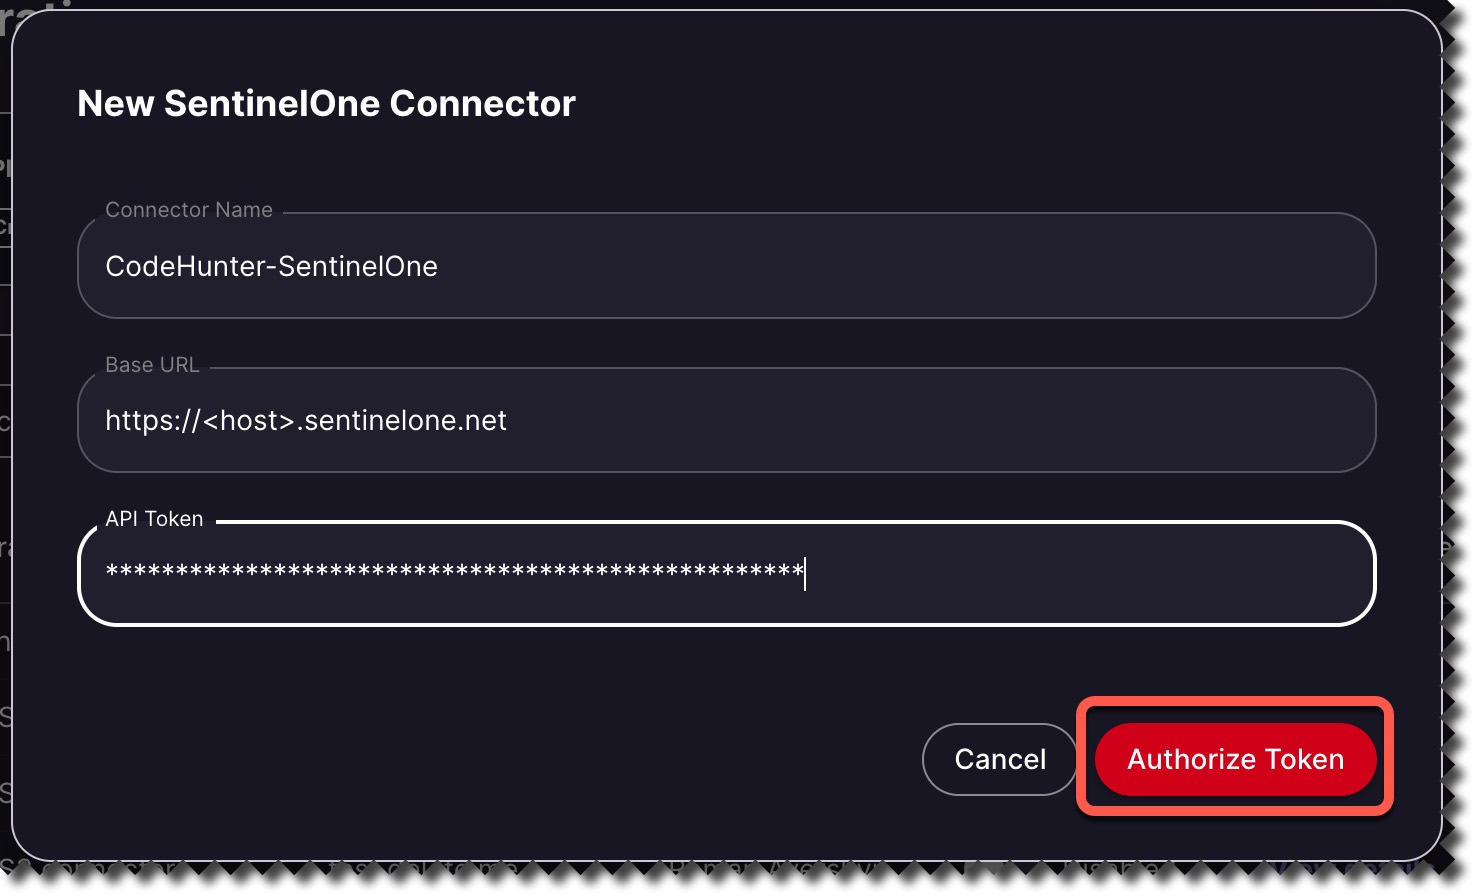
12. In the dialog box, provide a Connector name (e.g., SentionelOne Integration)
13. Next, paste the Base URL from Step 1 and API Token from Step 2 in the corresponding fields. Click Authorize Token when done.
SentinelOne Incident_type are viewable on the Dashboard tab.
FAQs
Q. Will the customer be notified if the token expires?
Answer: An email will be sent to the admin user prior to the 12 month expiration date.
Q. How does the analysis results work in the S1 console?
Answer: The CH results will be displayed in the Notes section of the incident.
Q. In the scenario that a customer has other incidents outside of SentinelOne do those ones need to be moved into S1 to be provided to CH?
Answer: Not necessarily. The manual upload action can be used.
Q. If a customer is not receiving the CH analysis results in the notes section of the incident will there be a link to the CH UI?
Answer: Yes, there is a link to the file that will navigate to CodeHunter application. The URL resolves to the dashboard page → file. Example URL: (https://mycodehunter.io/dashboard/sample/86e0eac8c5ce70c4b839ef18af5231b5f92e292b81e440193cdbdc7ed108049f)
Was this article helpful?